2023年8月29日発売(PS5版) ”Sea of Stars” のドキャリ海底遺跡の攻略記事です
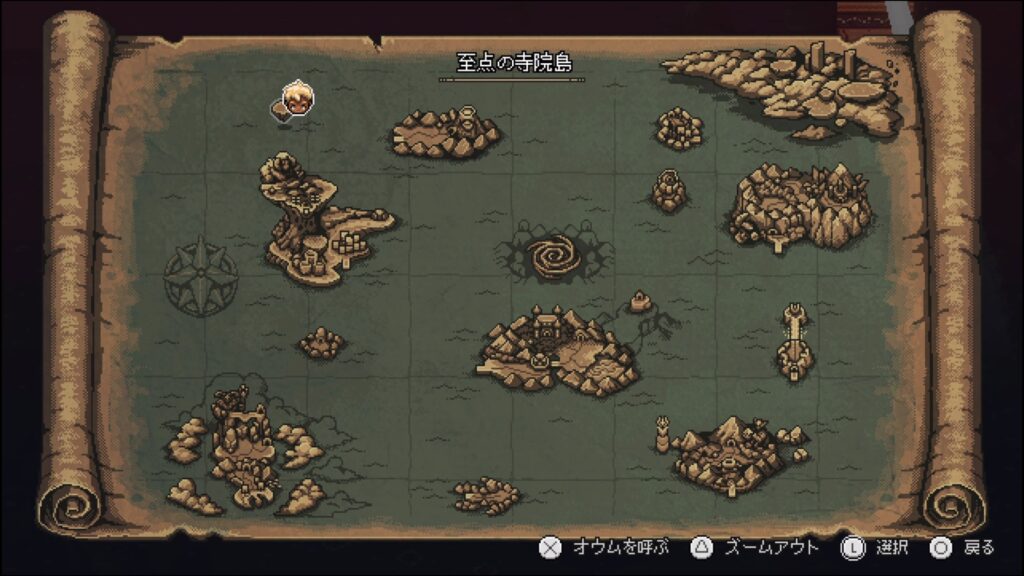
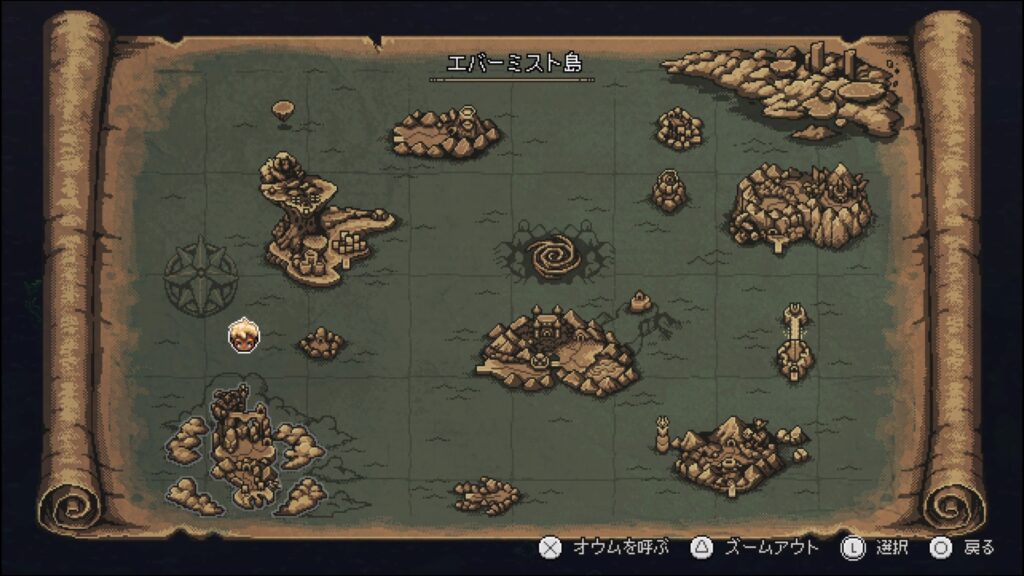
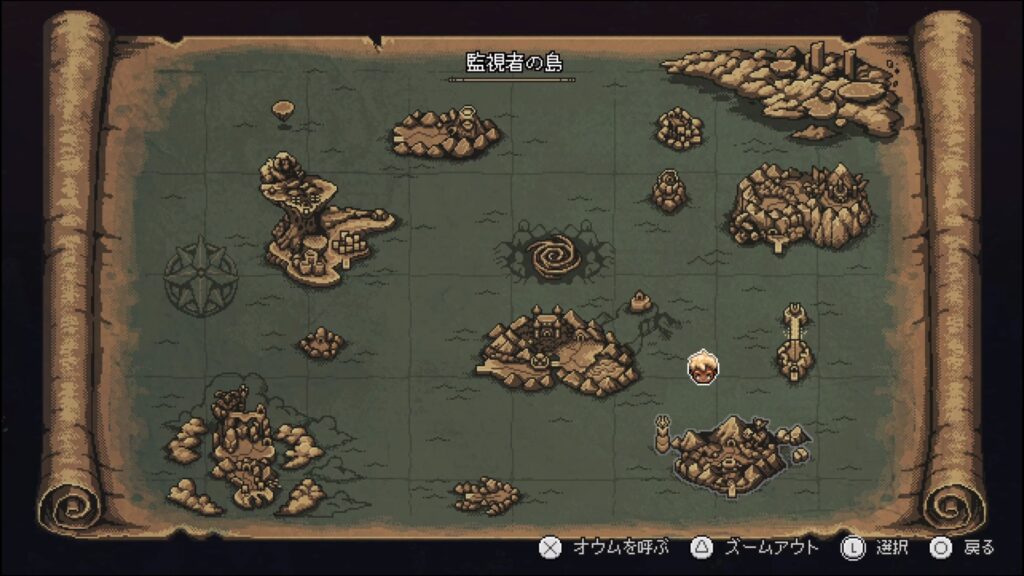
至点の寺院島
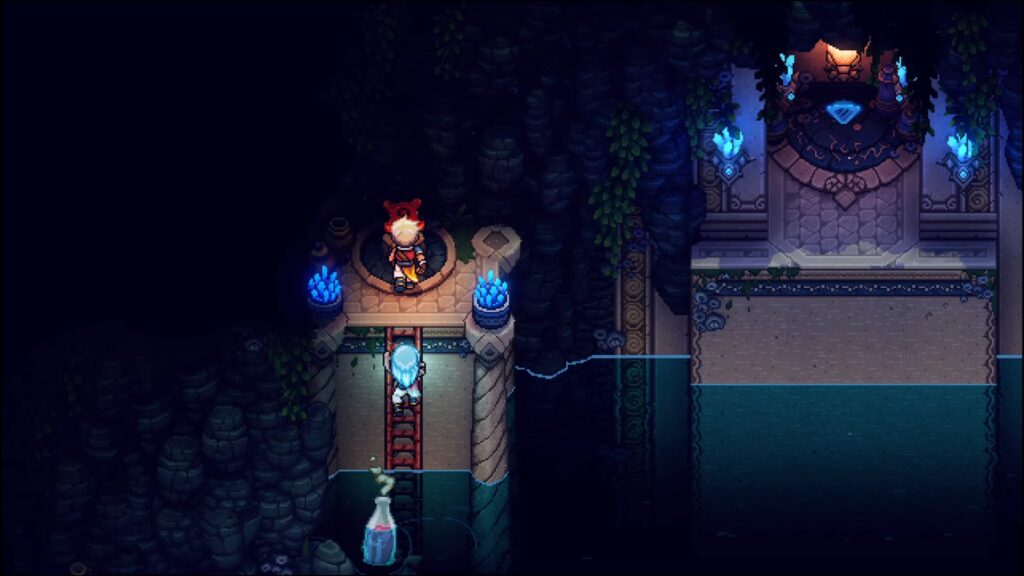
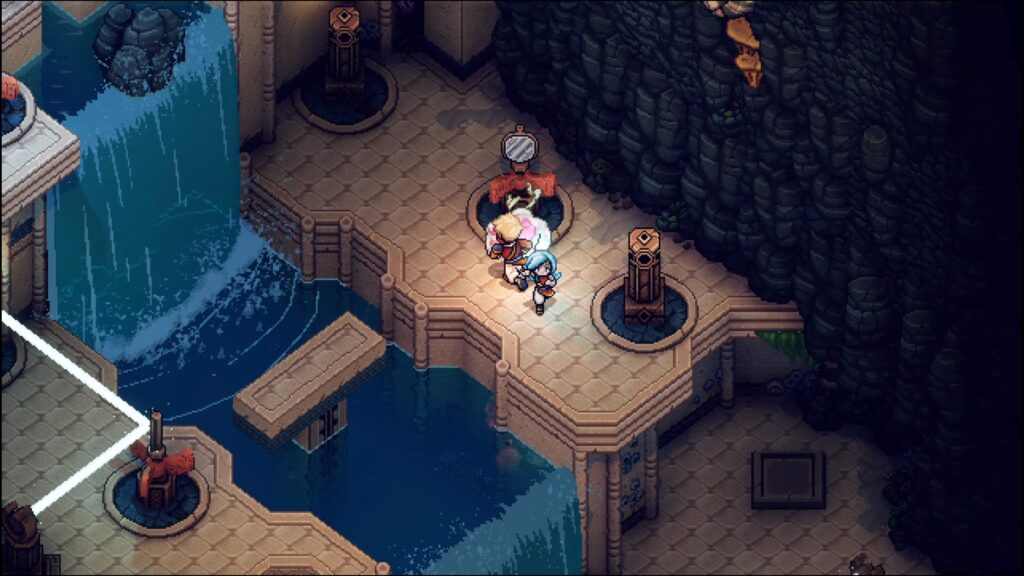
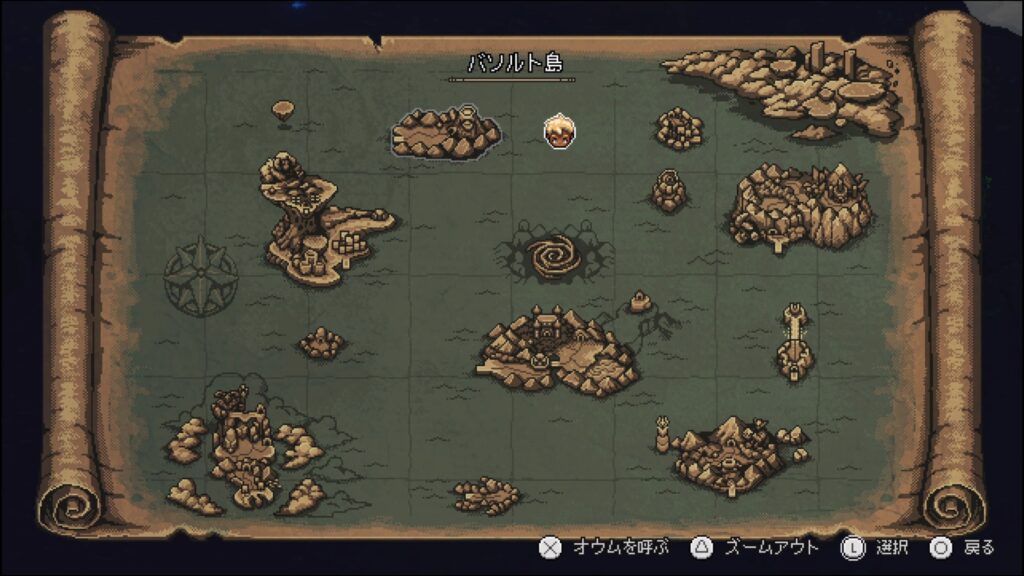
北西にある至点の寺院島へ行く
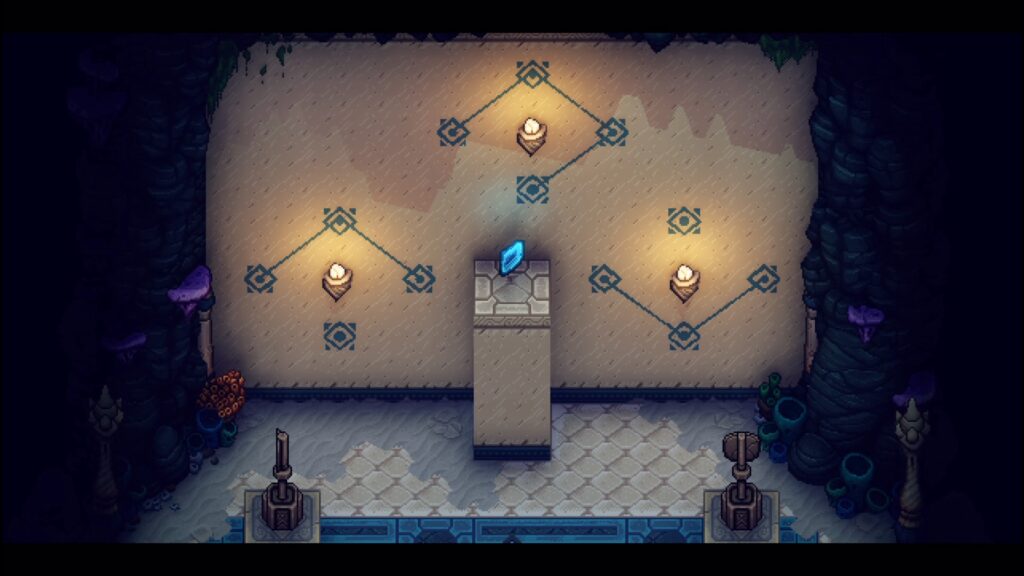
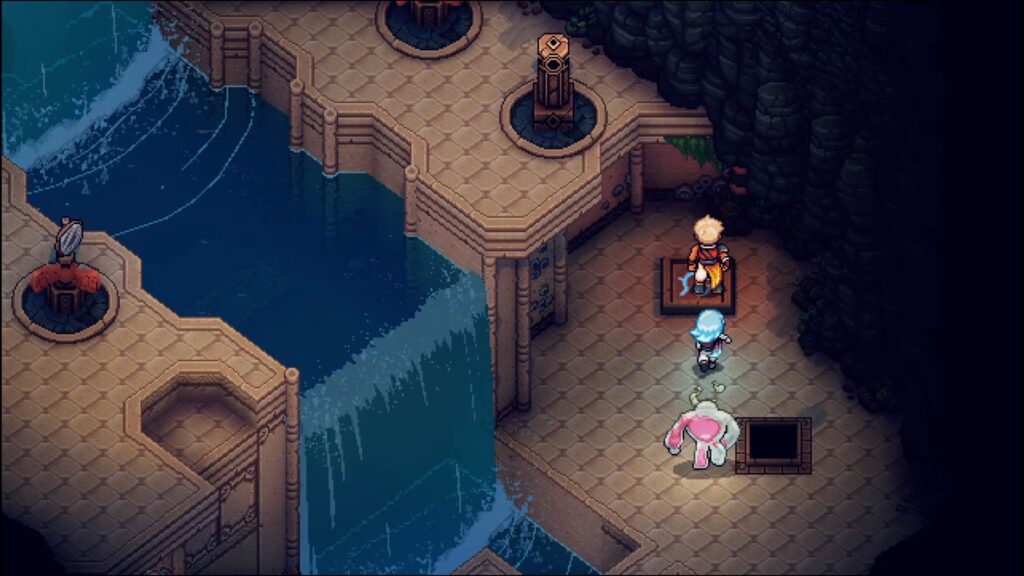
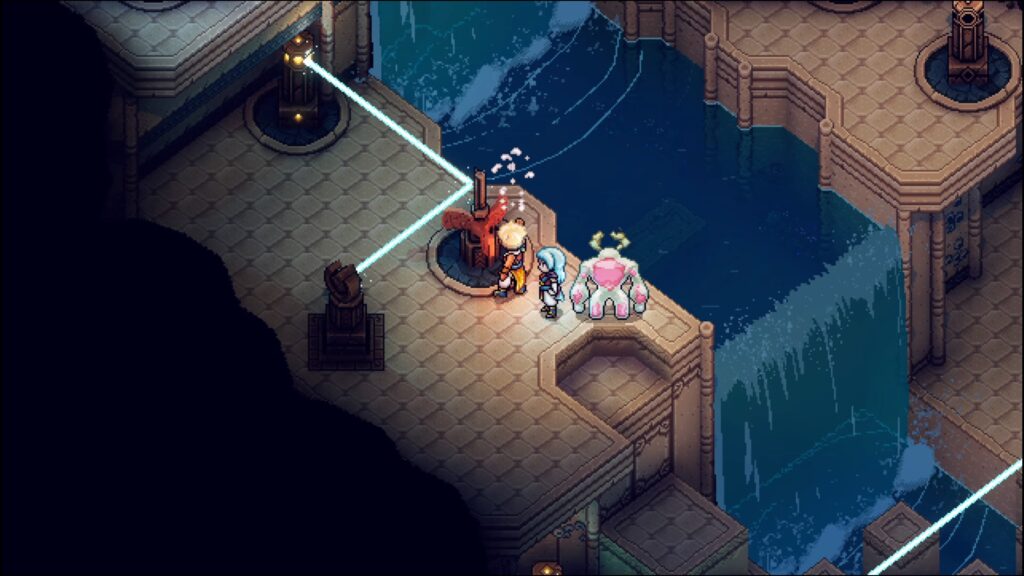
島にある紫のパネルを調べてルーン水晶を出現させる
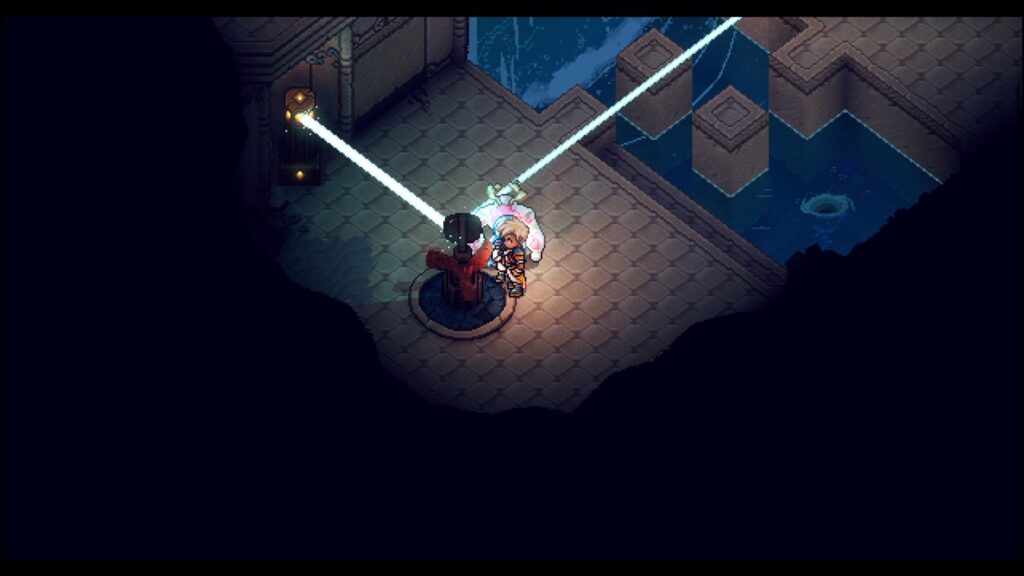
光を当ててルーンを起動する
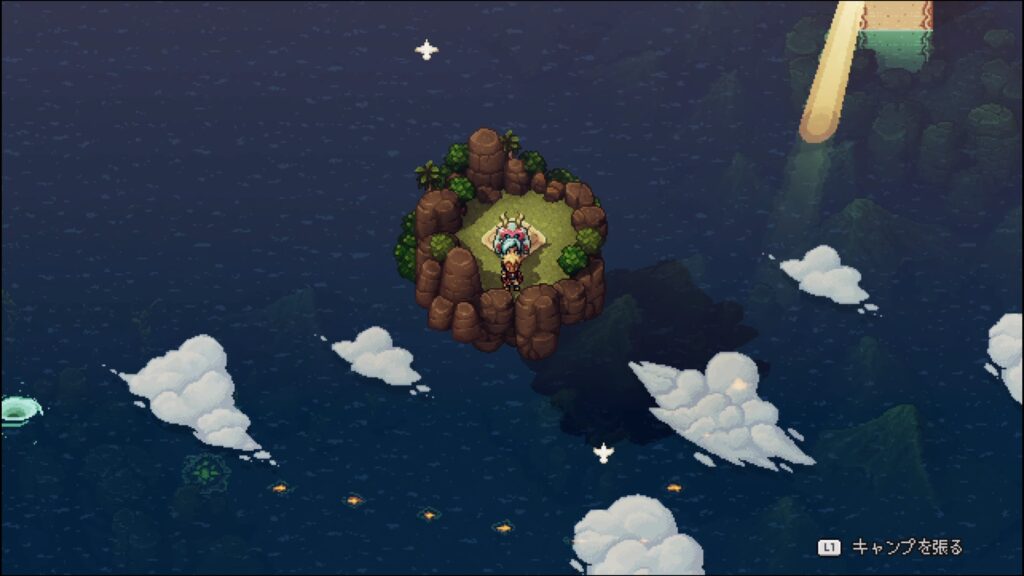
ルーンの先に渦が出現するので、中に入るとドキャリ海底遺跡①
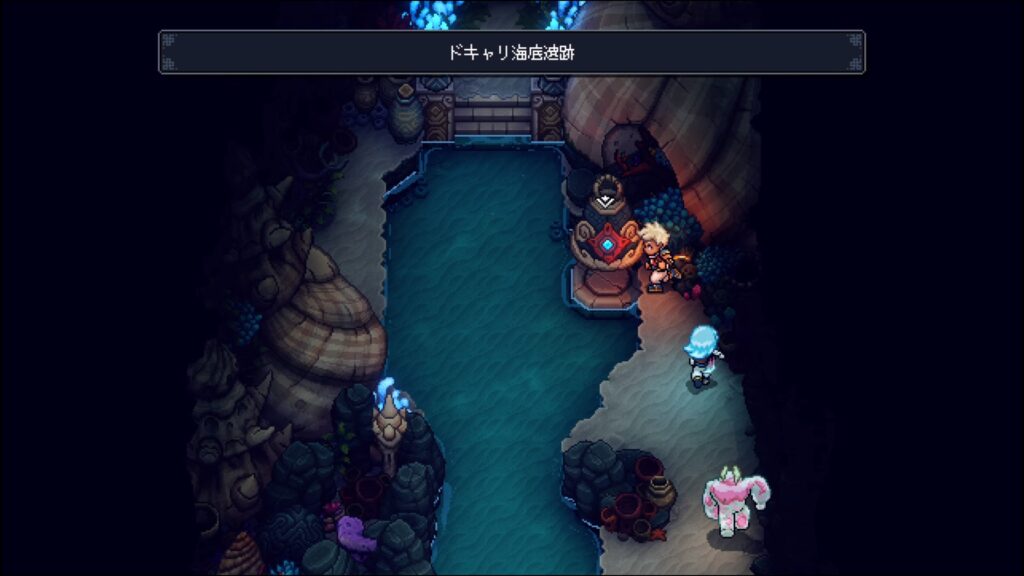
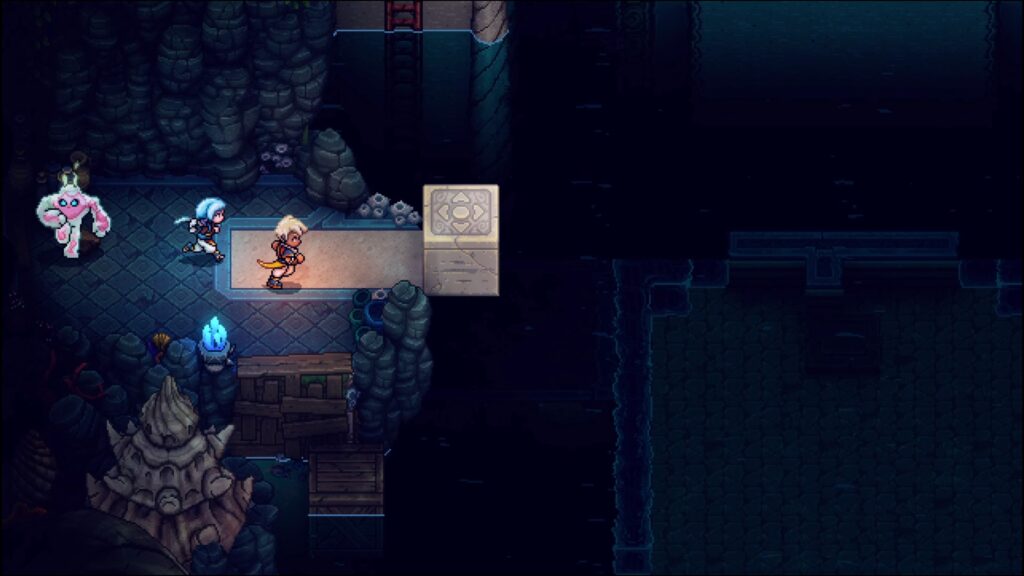
ドキャリ海底遺跡①
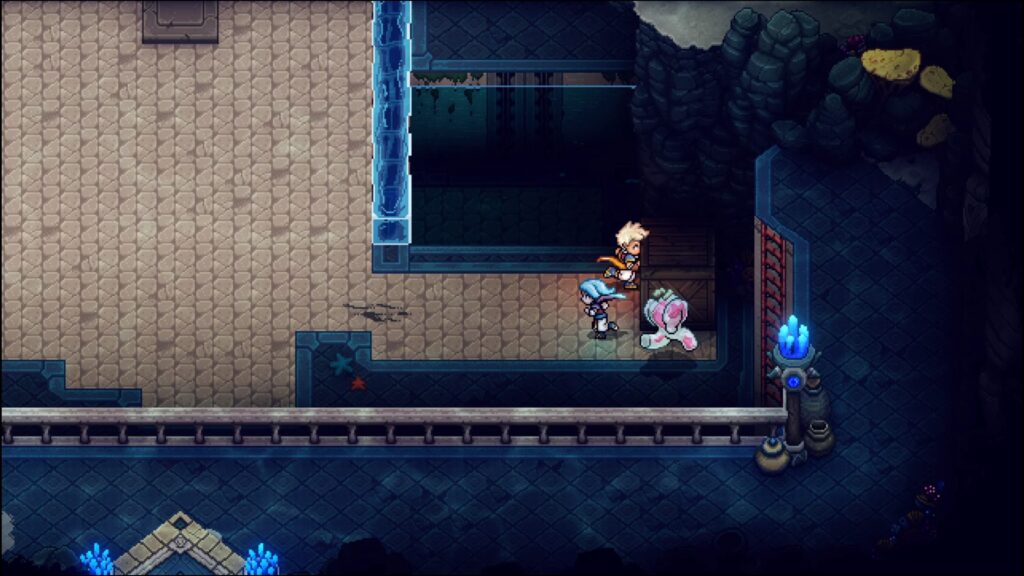
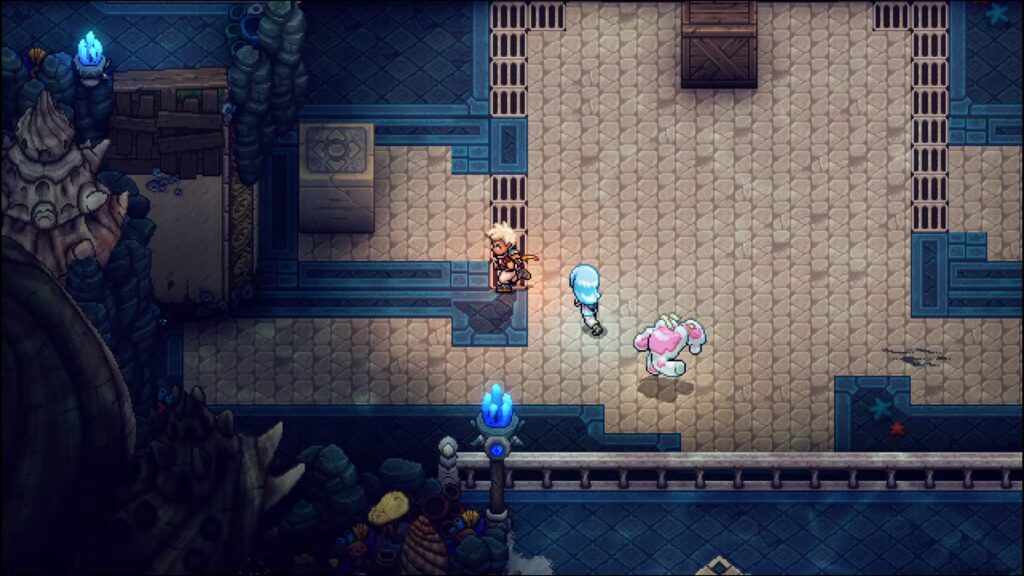
鐘をコバルトの槌で鳴らし、建物に入る
エリア左上のバルブを回して水位を下げる
木箱を風圧で右へ移動させ、先程のバルブで水位を上げると宝箱の場所へ行ける
- 宝箱にサファイアの鋳塊✖1
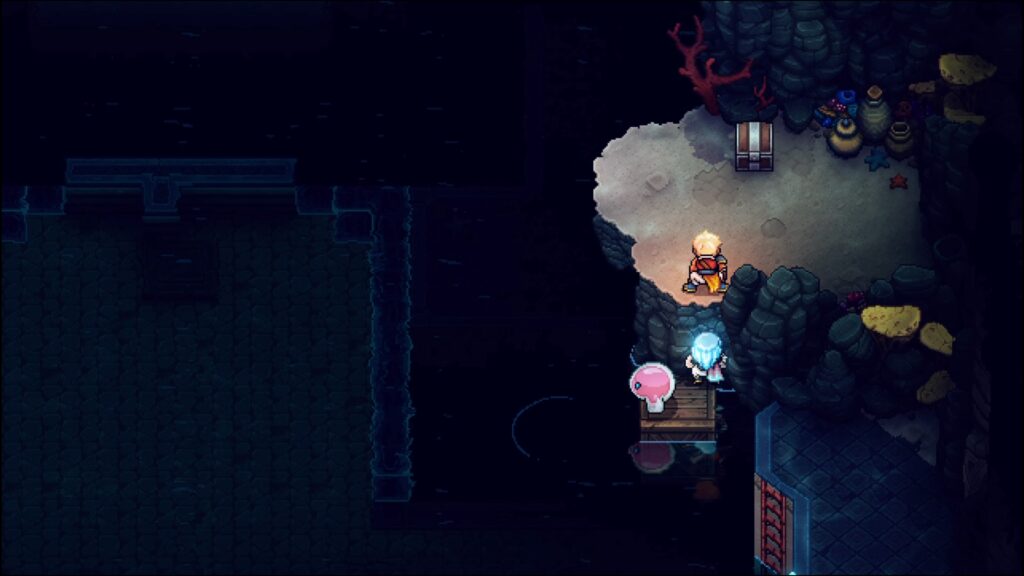
バルブで水位を下げ、木箱を左へ移動する
水位を上げ、木箱から足場に登る
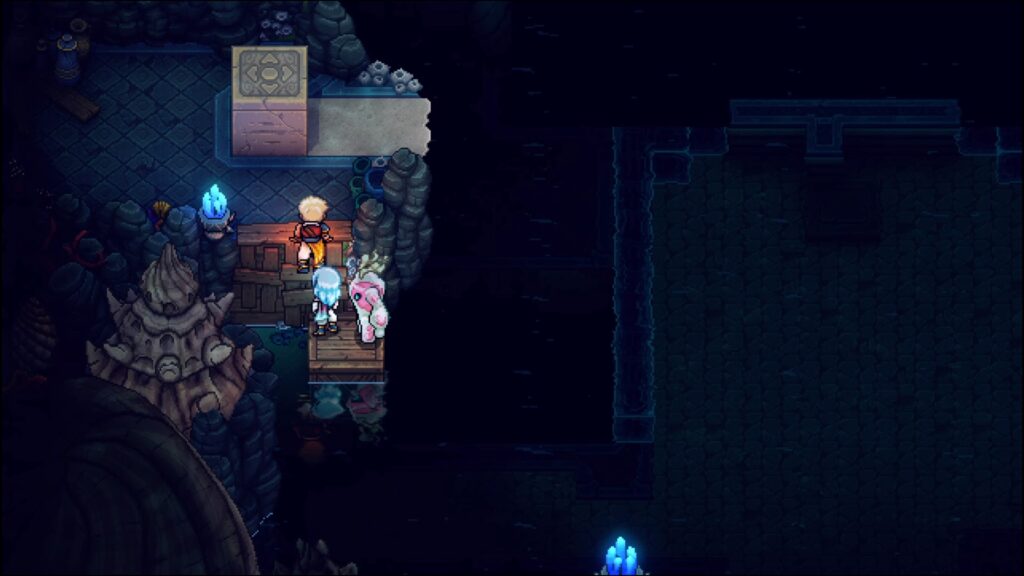
風圧でブロックを落とす
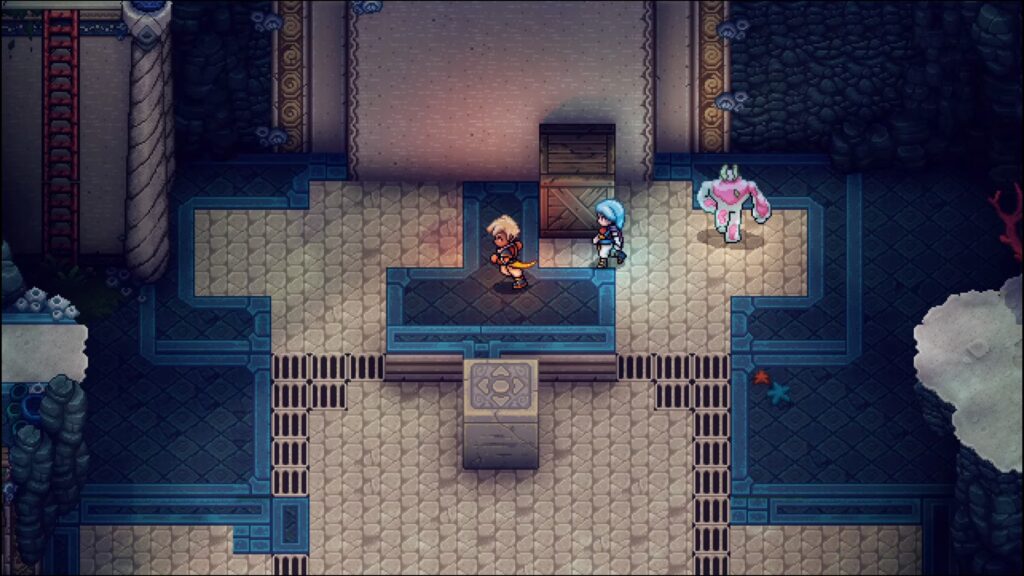
木箱をエリア中央にある感圧板に乗せ、ブロックが乗っている床を上げる
ブロックを感圧板に乗せ、木箱を奥の足場下に移動する
水位を上げ、木箱から足場に登ってドキャリの封印片Aを手に入れる
ドキャリ海底遺跡②
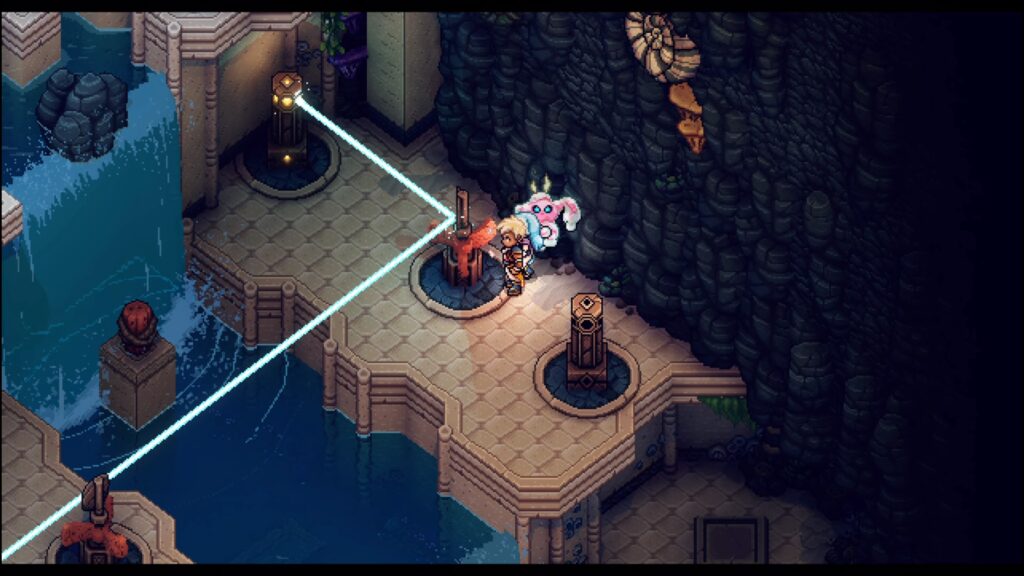
西にあるルーン水晶の場所へ行く
ルーンに光を当て、渦の中へ入る
コバルトの槌で鐘を鳴らして建物に入る
奥の壁に描かれているようにブロックを配置し、青の感圧板を踏んで光りを照射する
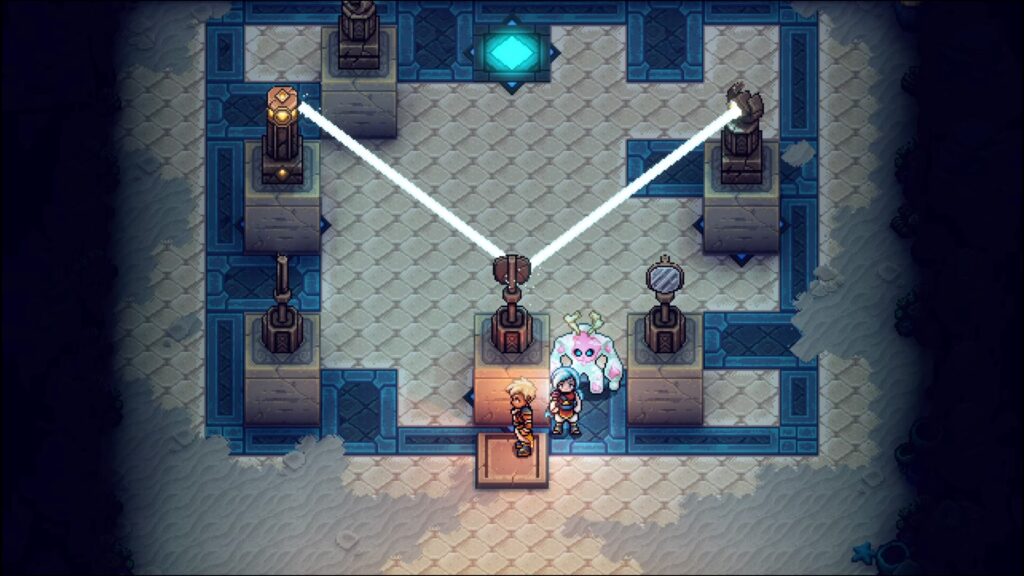
奥の柱が下がるので、ドキャリの封印片Cを手に入れる
ドキャリ海底遺跡③
東にあるルーン水晶の場所へ行く
ルーンに光を当て、出現した渦に入る
コバルトの槌で鐘を鳴らして渦に入る
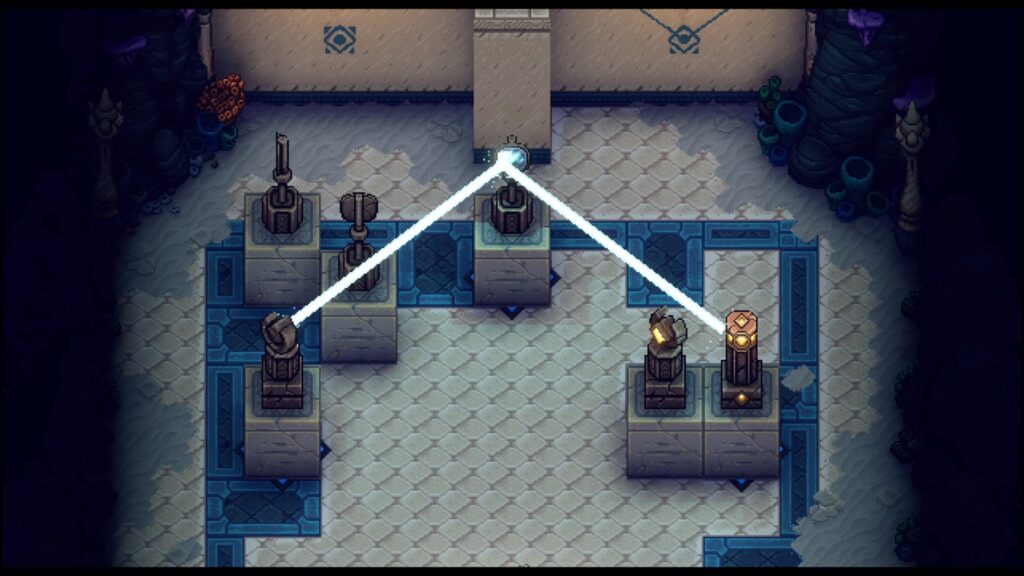
右側の足場にある感圧板を踏む
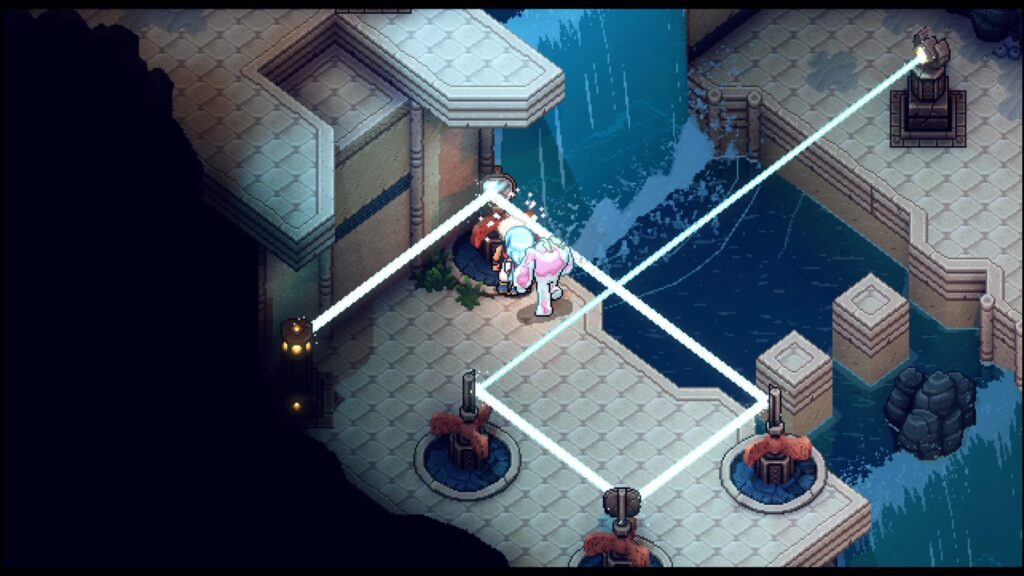
風圧で反射鏡の向きを変える
出現した段差を登り、反射鏡の向きを変える
足場を渡り、反射鏡の向きを変える
足場を渡り、右側に光が届くように反射鏡の向きを変える

グラップルで右側へ行き、反射鏡の向きを変える
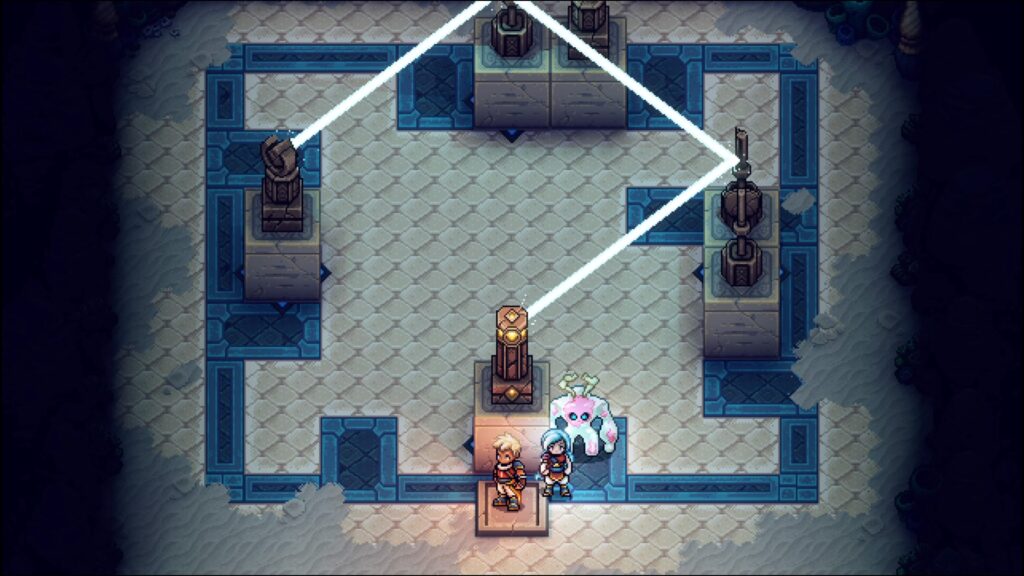
右の岩壁を登り、足場を渡る
反射鏡の向きを変え、段差を登る
足場を渡った先にある感圧板を踏み、ドキャリの封印片Bを手に入れる
ドキャリ海底遺跡④
北にあるルーン水晶の場所へ行く
ルーンに光を当て、出現した渦に入る
扉にドキャリの封印片A~Cを使う
上に進むとボス戦
ボス戦・シースラグ
シースラグ:弱点、抵抗なし
ボスバグ:弱点は毒系、抵抗なし
シースラグは”酸虫爆弾”でボスバグを召喚する。ロックの数と同等のボスバグを召喚するので、詠唱の阻止が出来なくても可能な限り破壊する
ボスバグを複数体召喚されたら、レシュアンの魔引撃を使って1ヶ所に集めるといい
シースラグはHPが一定量減る度に、いきなり岩を落として味方全員のHPを1にする
- ロックの表示なし
- ルナシールドで防げない
倒すとトロフィー:海のなめくじ獲得(実績)
ムーアランドにある装置が1つ点灯する
奥に進むと虹巻き貝の宝箱と大きな宝箱にエーテルウッドのコルク
Sea of Stars 攻略メニュー
コメントを残す